Description
This article explains how to configure the 3PAR SMI-S Provider to monitor the hardware of 3PAR Storage Arrays with Hardware Sentry KM for PATROL. Since the 3PAR SMI-S Provider is embedded with the storage device, there is no need to install an SMI-S Provider. Monitoring hardware will only require configuring the 3PAR SMI-S Provider, and enabling monitoring.
Configuring 3PAR SMI-S Provider
Starting the 3PAR CLI
- Start PuTTY
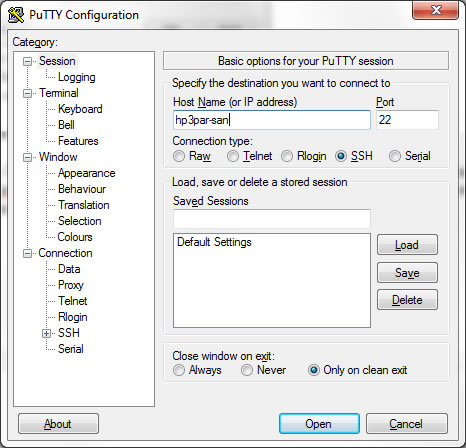
- Specify the IP address, select the SSH connection type, and click Open
- Type the username configured on the array and press ENTER
- Type your password and press ENTER.
Enabling the 3PAR SMI-S provider
By default, the 3PAR SMI-S Provider is not started on the array’s management interface. The startcim command must thus be run in the 3PAR CLI to start the SMI-S provider. Conversely, the stopcim command will be used to stop/disable the SMI-S provider.
Use the command showcim to verify the status of the CIM server.
Creating a User
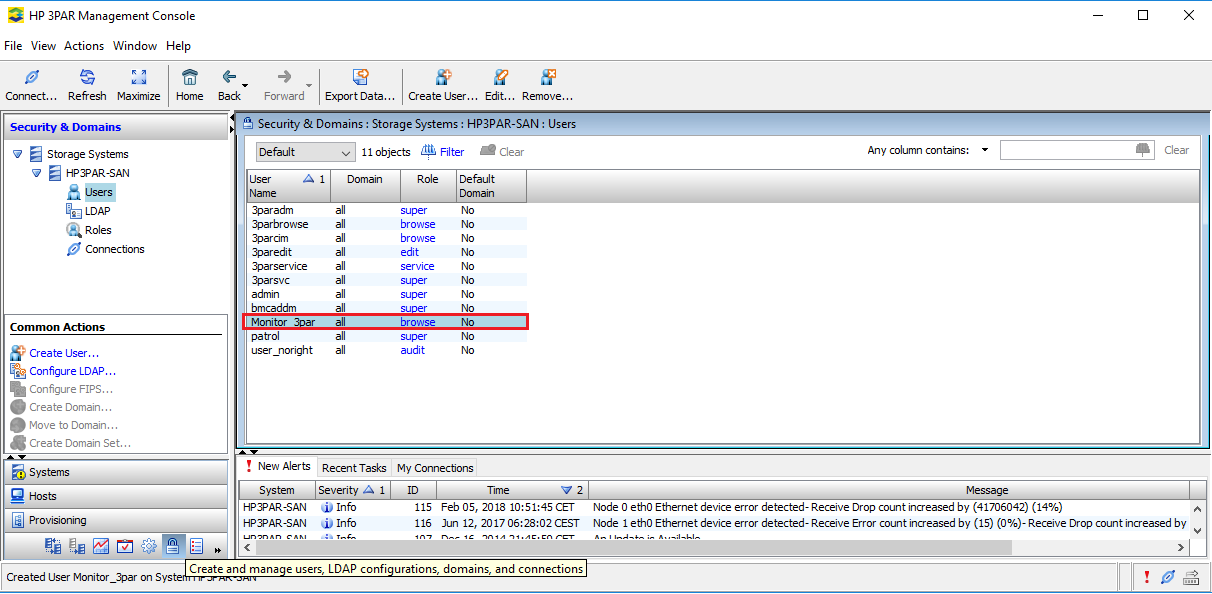
A user with browse role is required to monitor the hardware of the HP 3PAR storage systems. To create this user:
- Open HP 3PAR Management Console.
- Click Security & Domains in the Manager Pane.
- Click Create User in the Common Actions Panel.
- Create a user with browse role.
Enabling Monitoring
-
Log in to TrueSight Presentation Server.
-
Add or edit an Infrastructure Policy for Hardware monitoring.
-
In the Hardware Configuration section, click Add:

-
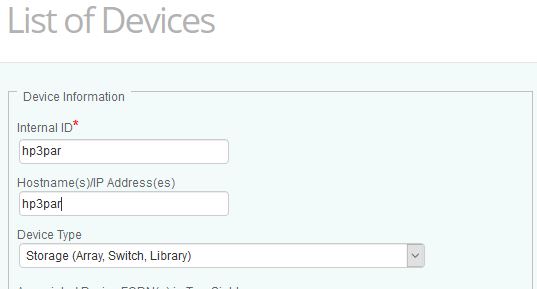
Provide an Internal ID, and enter the Hostname or IP Address of the HP 3PAR disk array where the SMI-S provider is running.
-
In the Device Type drop-down list, select Storage (Array, Switch, Library).
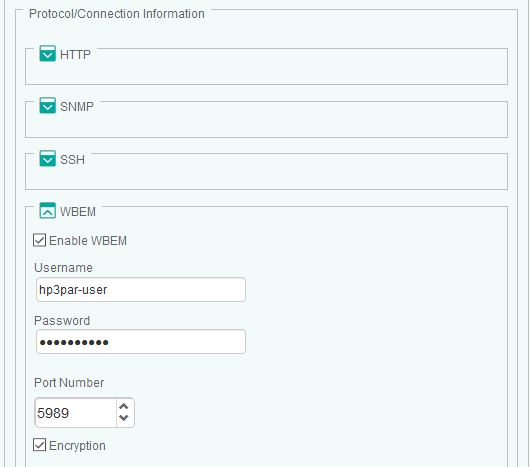
- Specify the Protocol/Connection Information:
-
Enable WBEM
-
Enter the Username and Password to use to establish the connection with the device using the WBEM protocol.
-
Specify the port number. By default, port 5989 is used for encrypted connections and 5988 for non-encrypted connections.
-
For encrypted connections, check the Encryption option.
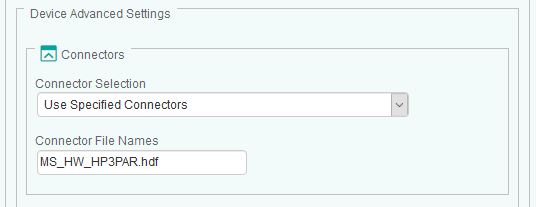
- In the Device Advanced Settings section:
-
Select Use Specified Connectors.
-
In the Connector File Names field, enter MS_HW_HP3PAR.hdf.
- Click OK
- Click Save. After a few minutes, your device will be displayed in TrueSight.
Related Topics
- Monitoring Sun StorageTek Disk Arrays with Hardware Sentry
- EMC SMI-S Agent (ECOM) Connector Stopped Working After Migrating to Dell Solutions Enabler v10
- EMC VNX Monitoring with Hardware Sentry Fails Because of Special Characters in the Password
- Monitoring Dell EMC Symmetrix VMAX Disk Arrays
- Monitoring HP Blade Chassis Virtual Connect with Hardware Sentry